Spring Boot is an open-source framework that makes easy to develop Java application since its provide embedded tomcat, auto-configuration and many more. Step to create Spring boot application.
1. Create a new Spring Boot project: Open your bowser and type this url https://start.spring.io/ or click on Spring Initializr. You will see below pages.
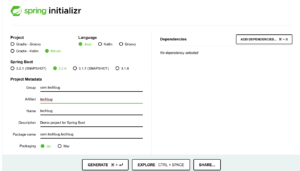
- Project: Select “Maven Project”
- Language: Choose “Java”
- Spring Boot: Select Spring Boot Version
- Group :
com.techbugwhatever you want to define usually project name is preferable. - Artifact : Define name which will be reflect in application jar or war
- Name and Description: Define your own
- Package name: custom name
- Packaging: After application development it will generate war or jar based on selection which we can use for deployment.
We can also add dependencies after clicking on Add Dependencies
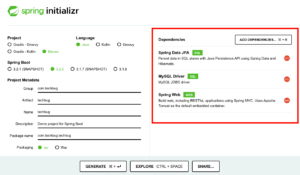
Type Dependencies on search box it will come automatically. As I have selected above.
2. Click “Generate” to download the project as a ZIP file.
3. Extract the downloaded ZIP file.
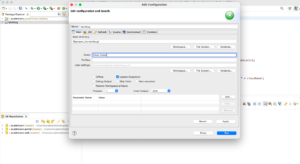
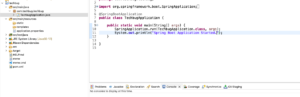
4. Open the project in your preferred IDE Eclipse, STS, IntelliJ IDEA.
5. Click on File Menu and Import as Existing Project, Right Click on Project then Run Maven Build, and add this command clean install.
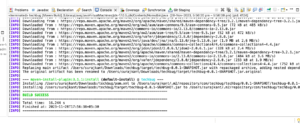
After Success Build you will see below line in console.
6. Add below configuration in application.properties, this file will be under your project resource folder. if you added mysql dependencies.
spring.datasource.url=jdbc:mysql://localhost:3306/your_db
spring.datasource.username=dbuser_id
spring.datasource.password=db_user_pwd
#Basic Drivers for connecting with database
spring.datasource.driver-class-name=com.mysql.jdbc.Driver
spring.jpa.hibernate.naming-strategy = org.hibernate.cfg.EJB3NamingStrategy
spring.datasource.testOnBorrow=true
spring.datasource.validationQuery=SELECT 1
spring.jpa.hibernate.ddl-auto=none
spring.jpa.database=mysql
7. Now Right Click on Main Java file and Run as Java Application.
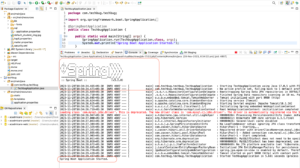
Your Application is Running now, You can verify hitting this Url In browser http://localhost:9080
4 Replies to “A Step-by-Step Tutorial For Creating Spring Boot Application”